3D mounting video for an acoustic design ceiling made of plasterboard
Joint execution without filling simply explained as a 3D animation
In drywall construction, plasterboard ceiling systems are usually filled. For special perforated panels of an acoustic ceiling, however, there is a joint tape that is inserted with liquid adhesive. And how the mounting works for this, which steps have to be taken into account, is explained by the Animations-Maschine with the help of a 3D animated mounting video.
Working under the covers can be exhausting! Not so if the ceiling system is explained as a 3D installation video. Here plasterboard panels can be mounted overhead, screw holes filled and butt joints grouted without getting into your arms.
3D mounting video joint tape
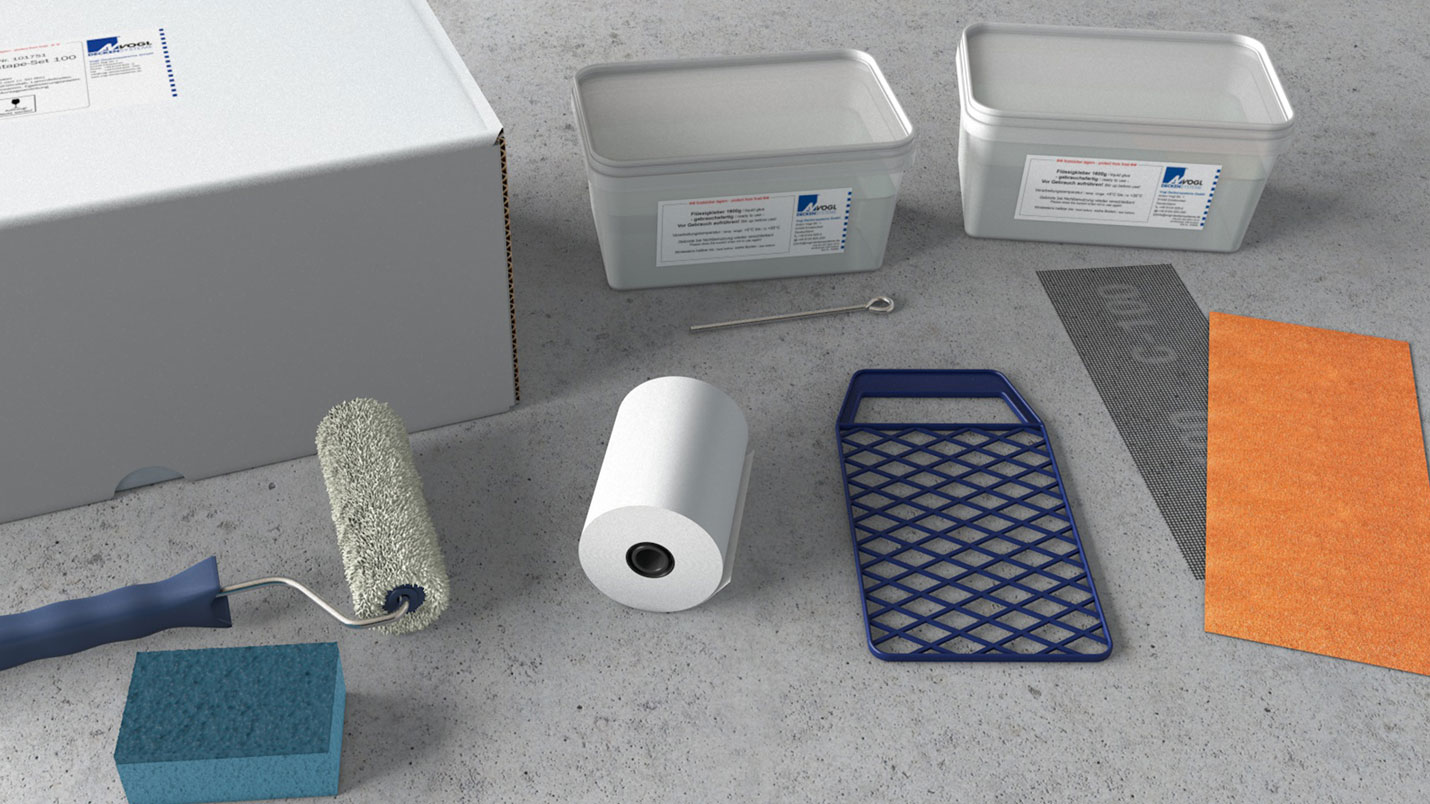
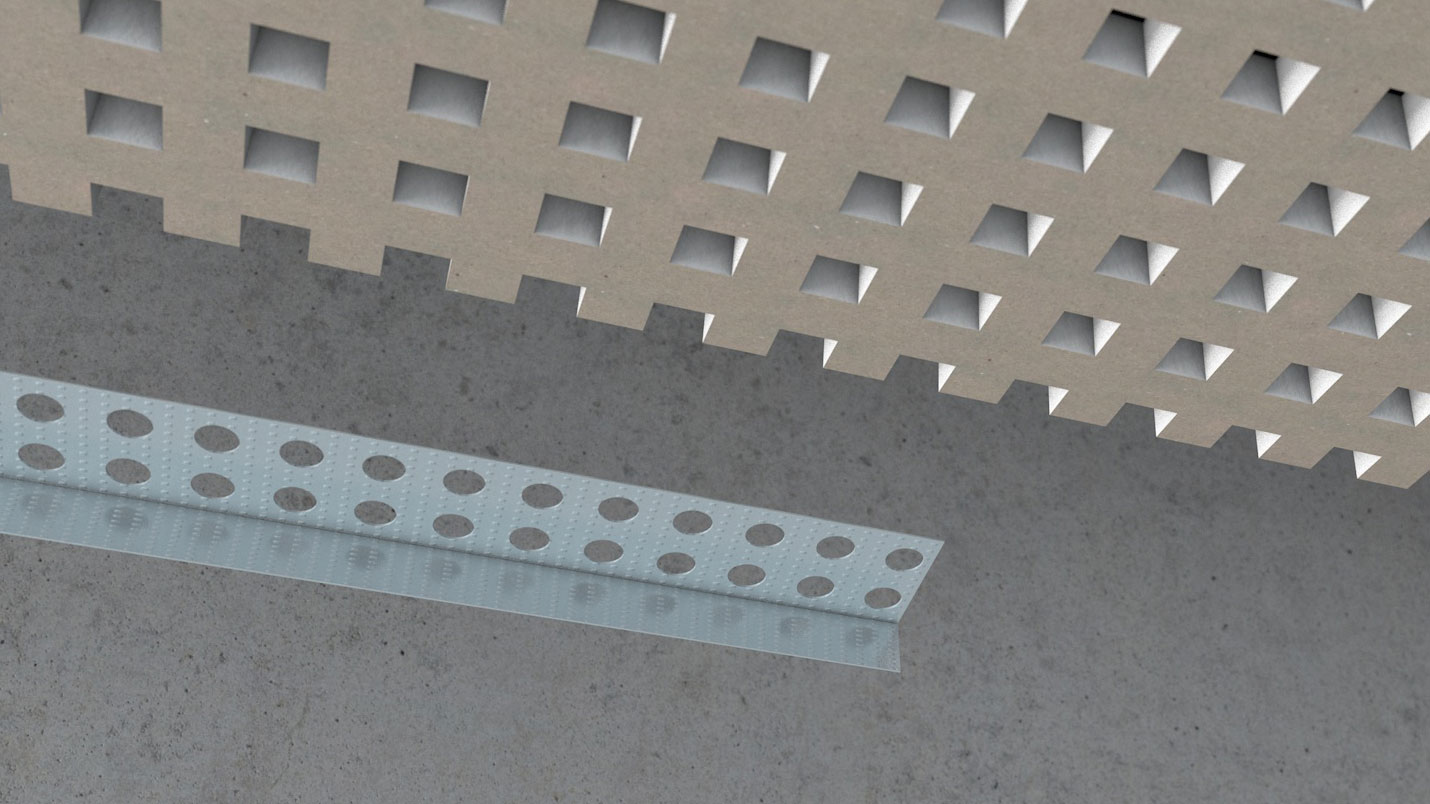
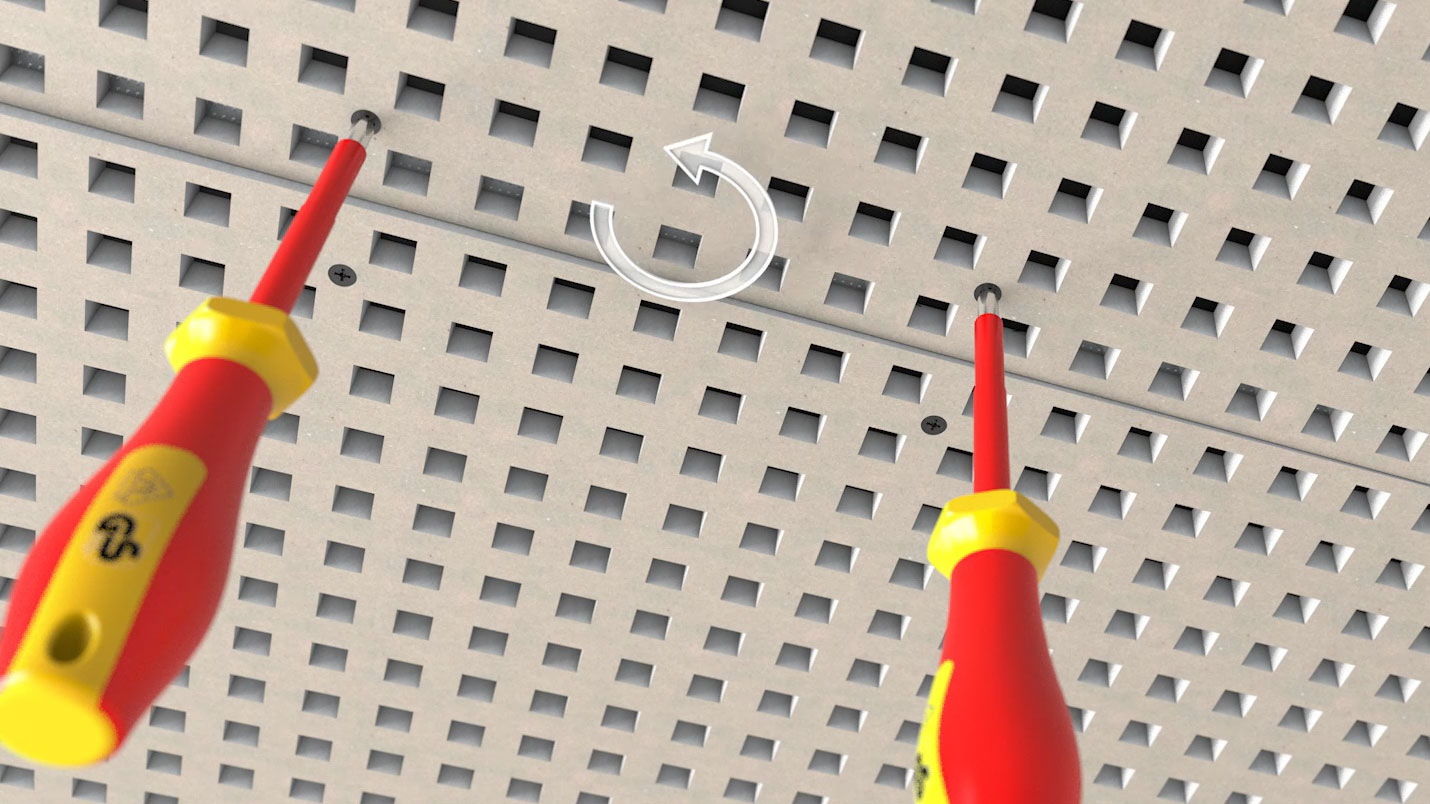
At the beginning of the assembly animation, all the tools and products required for the special joint technology are shown. The matching 3D models were partially provided by the customer. Missing 3D models were modeled and used by the Animations-Maschine. When installing the laying of the panels, it is shown how a plasterboard panel is aligned and screwed. Supported by visual information elements such as rotating arrows with or without dimensions.
Implementation of video production - 2021
Representation of the surface textures
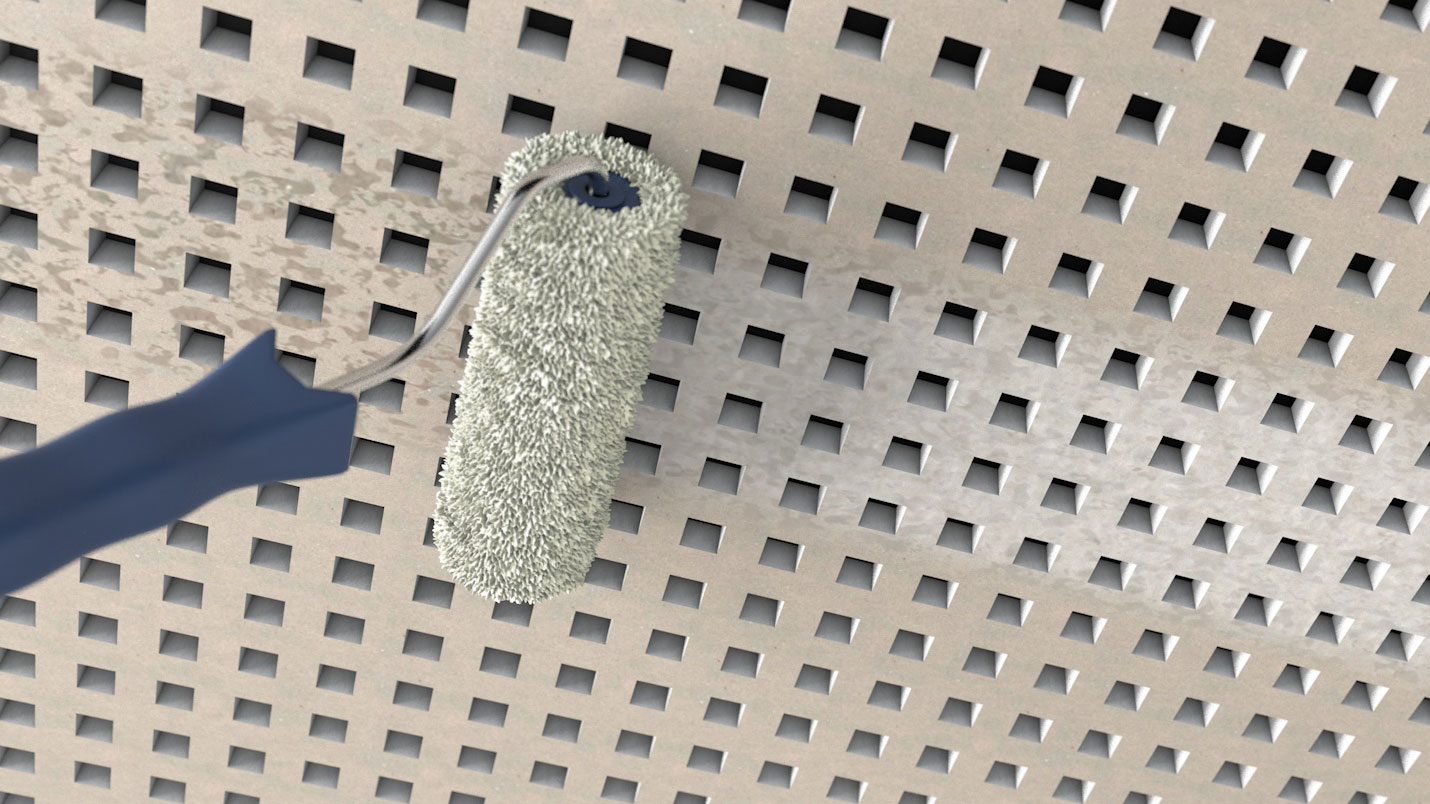
In the main part of the video, the plasterboard is sanded, moistened with water and the joint areas are coated with liquid adhesive. In reality, this always changes the surface texture to roughened, moistened and wetted. For this purpose, various textures were developed in the 3D animation, superimposed on one another and then shown in an animated manner. The different levels also shine through the other levels, which leads to more realism in the 3D animation.

Texturing of surfaces in a 3D animation
3D assembly video - frieze tape for perforated plasterboard panels
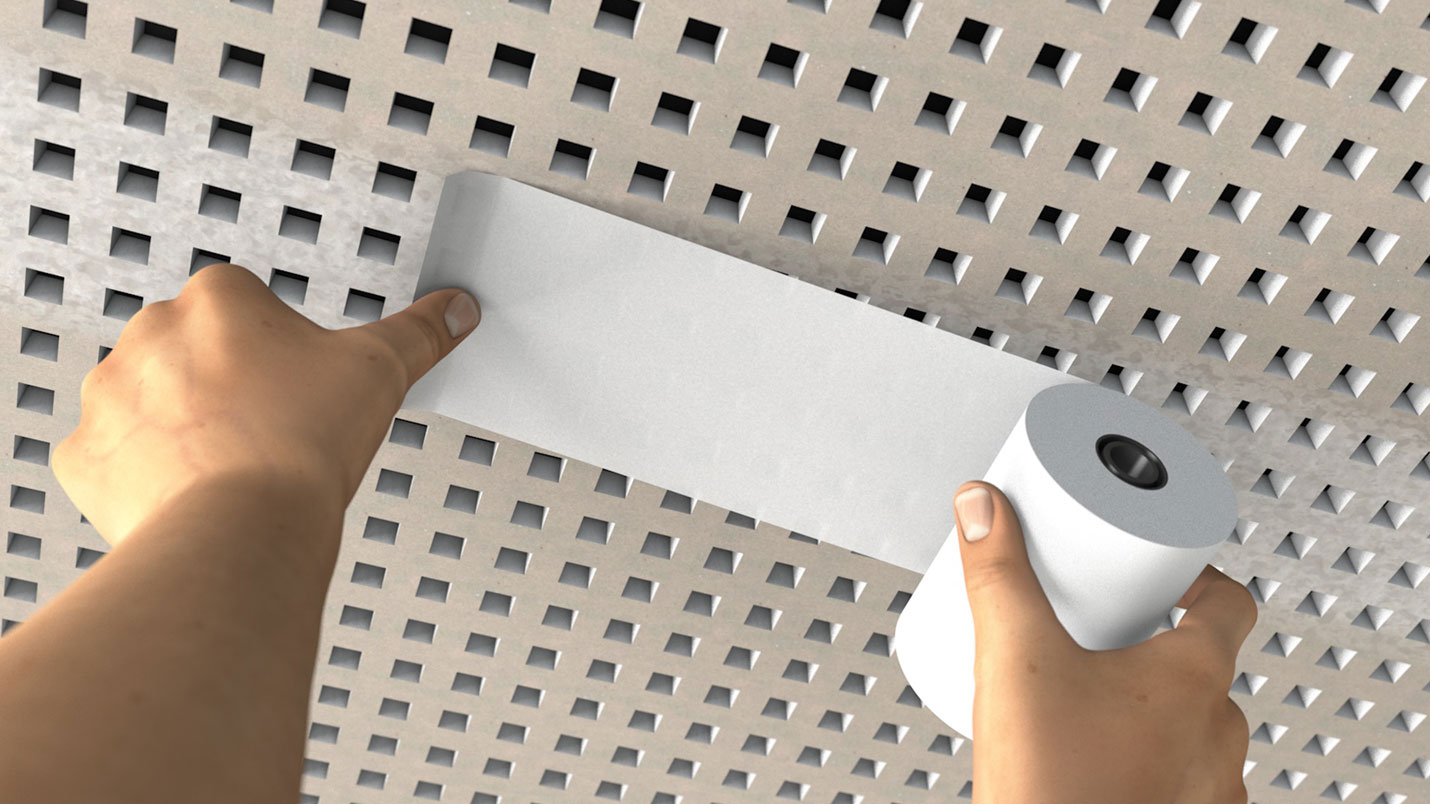
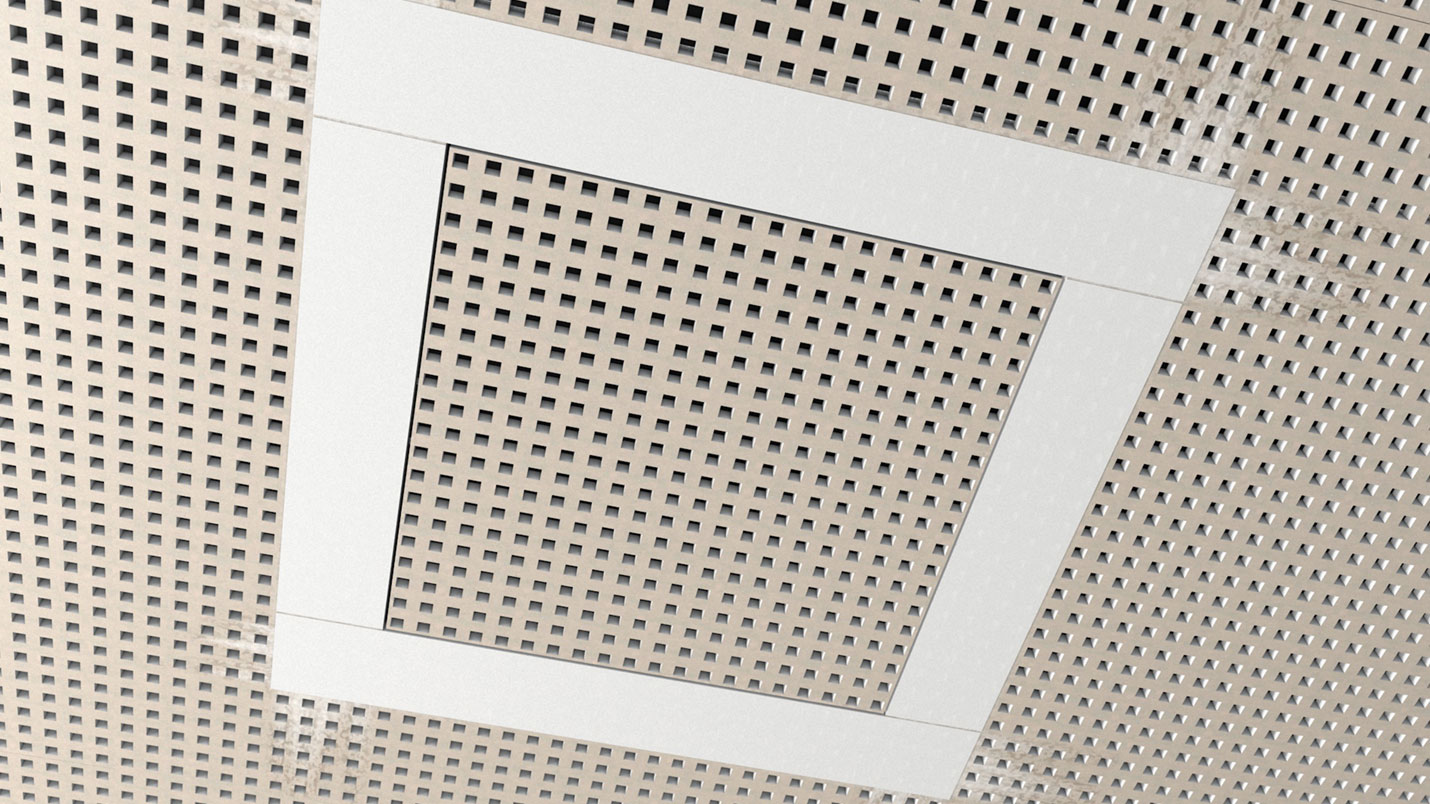
A special frieze tape is available to quickly and effectively create a frieze on perforated plasterboard. This is glued over the existing perforated plates and closes them visibly. Optical borders or wall edges can thus be produced cost-effectively. At the beginning of the 3D animation, the correct application of the frieze tape is shown. How is it glued? How can air bubbles be removed again? And how is it prepared for the later painting of the ceiling? All of these questions are explained in the 3D animated assembly video. Further possible uses are presented at the end of the 3D video. For example, how the tape can be used for inspection hatches in the ceiling, or how a wall connection or a shadow gap is made.
Implementation of video production - 2021
Inexpensive 3D animation creation
In terms of 3D technology, it was possible to take over some of the previously created assembly video for this video implementation, which was produced for the same customer. The complete 3D environment, including lighting setup and room design, already existed. 3D models of tools and their complete assembly animations, such as the application of liquid adhesive using a paint roller, could partially be adopted 1 to 1. These only had to be supplemented with new passages. These savings also resulted in low cost of production. What has been created once in 3D can be used again and again.

Free initial consultation
Are you looking for a 3D agency that also explains your product with a 3D animation? But do not yet know whether this will also work for you and your product? The Animations-Maschine offers you a free initial consultation. Let's just talk about your product and project. Together we will work out an ideal solution for your project. You then decide in your own time whether you want to finally have a 3D animation or an assembly video produced.
Arrange an initial consultation nowAnimation of hands
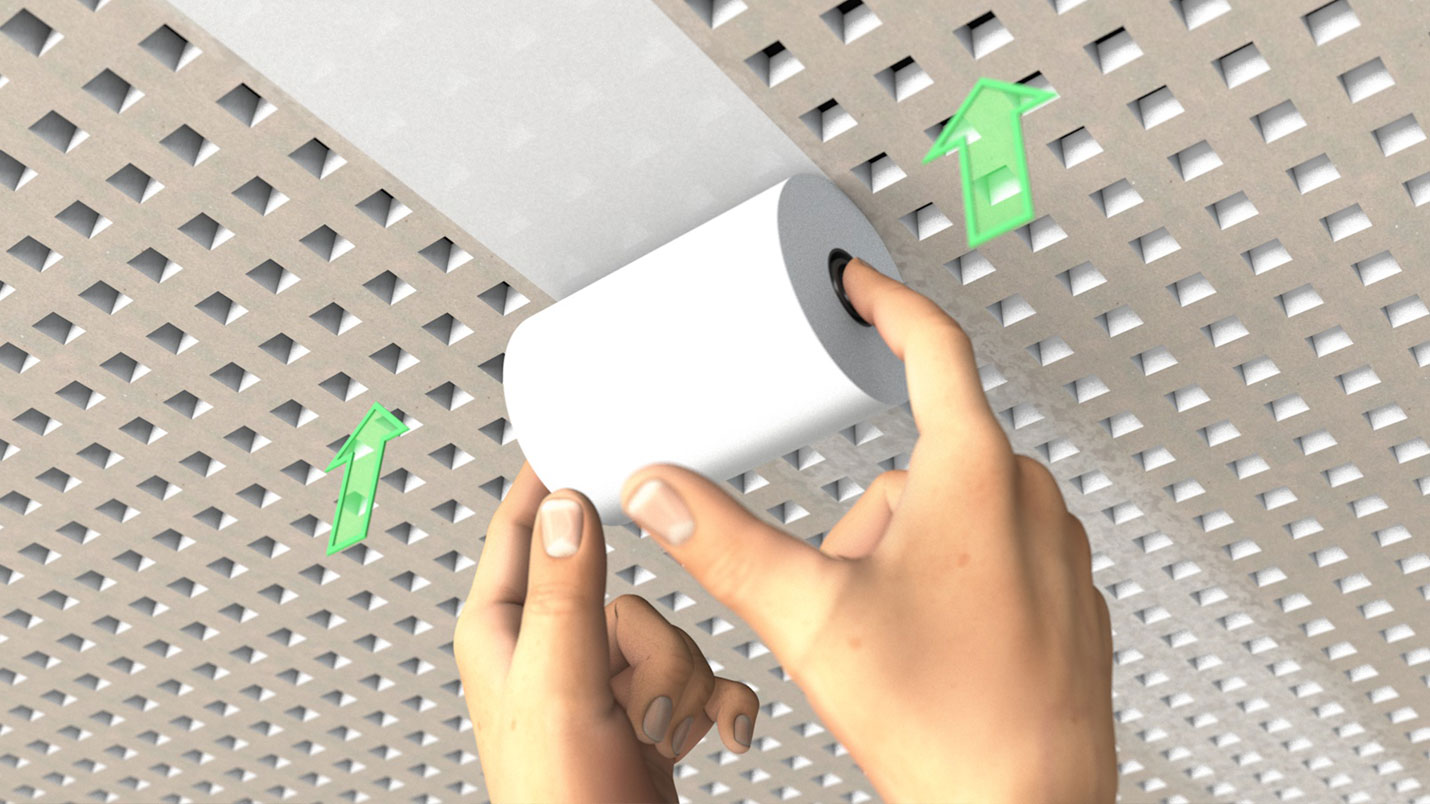
In the last third of the video it is shown how the joints of the special ceiling solution of the acoustic ceiling are pasted with a joint tape. This depends on the right hand guidance, which was also implemented in 3D with hands. The animation of hands is time-consuming, since every finger and every joint has to be coordinated with the movement sequences. Normally, this complex implementation can often be dispensed with in 3D animations and only the tools can be animated. In this example, however, it was important to show the hand movements as well.
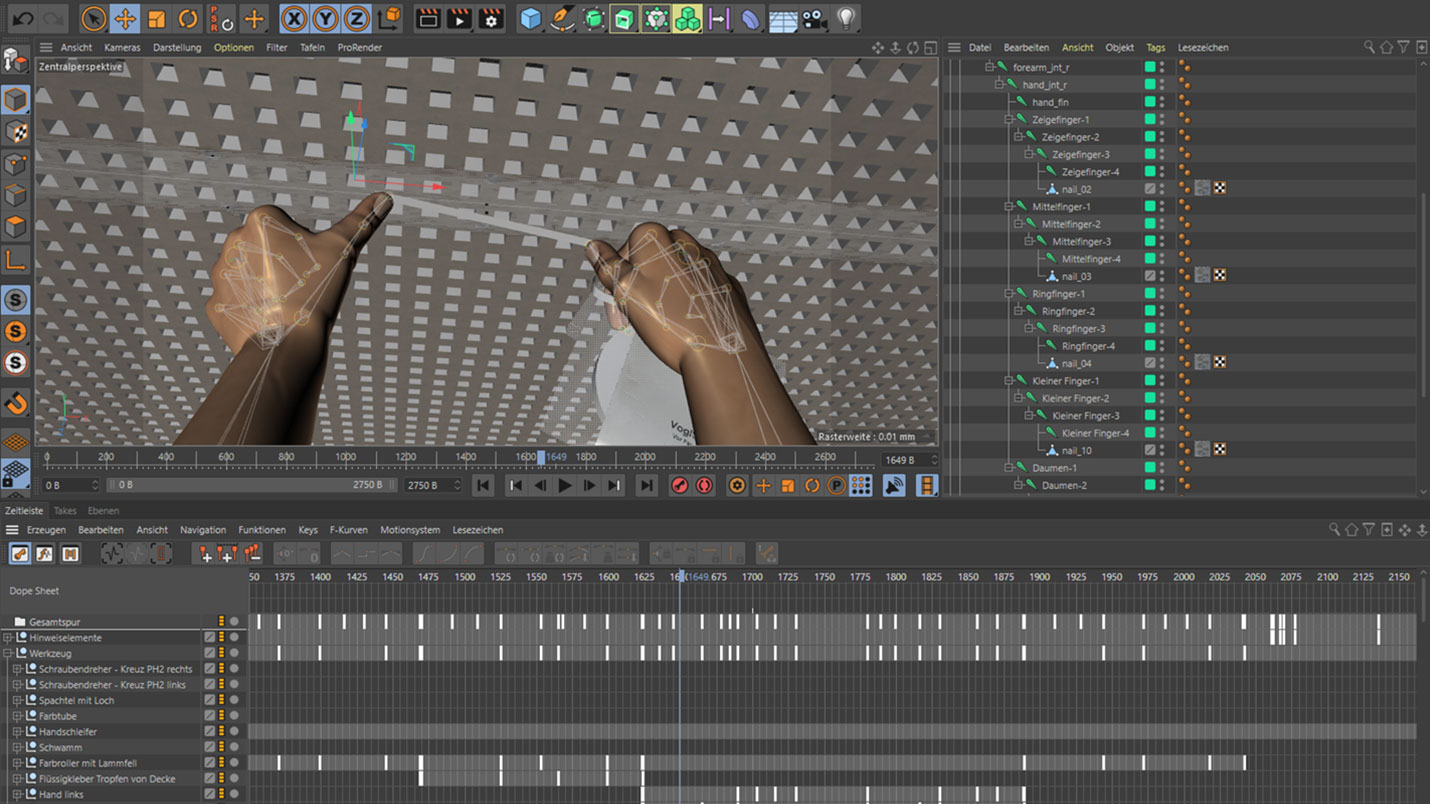
3D animation of hands
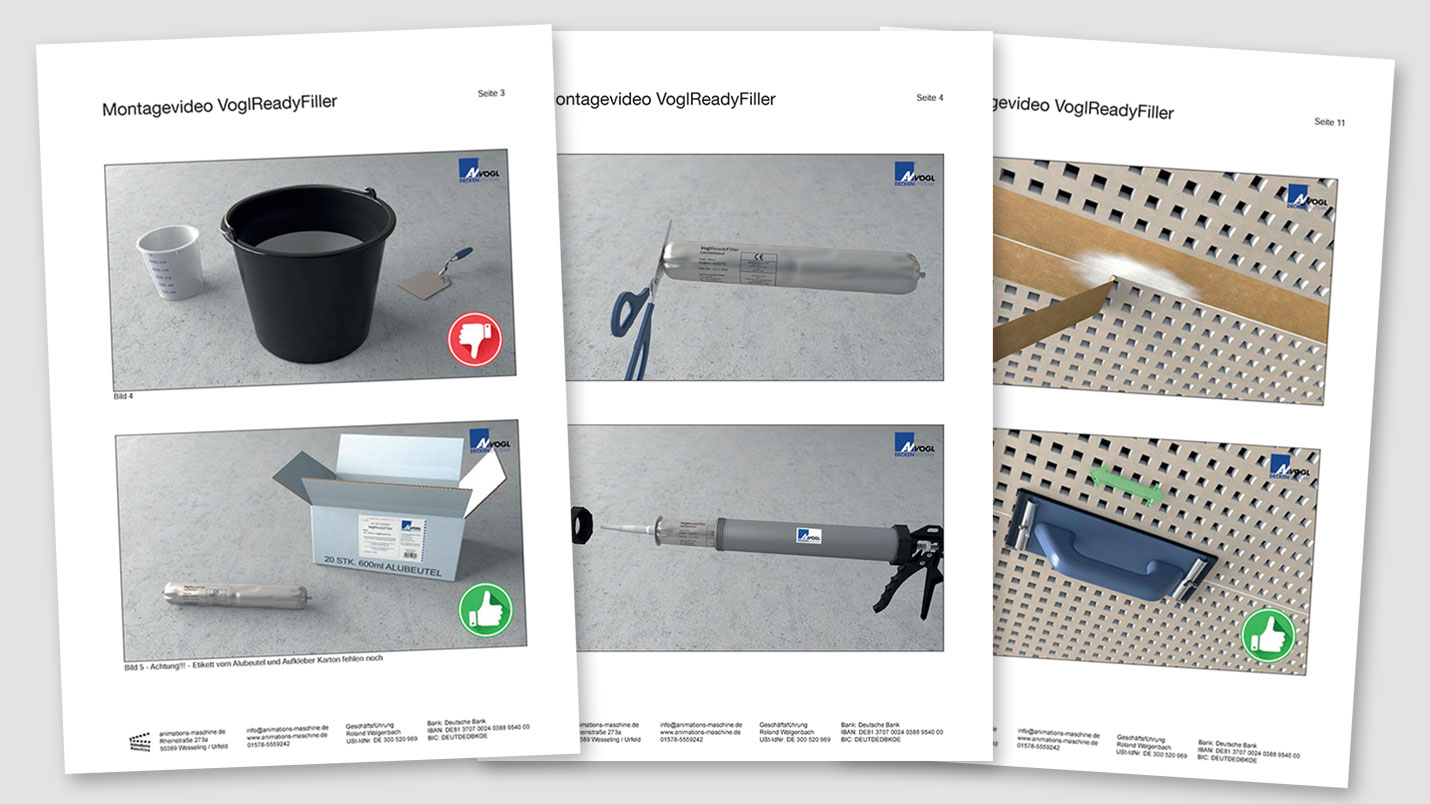
Representation of correct and incorrect assembly
The videos created should not only show the correct assembly, but also often the wrong or faulty assembly. In order to visually underline the difference, two different icons were used throughout. A green thumbs up for correct assembly and a red thumb down for incorrect implementation. This means that it is always clear what is important in the respective implementation and which typical errors should be avoided.
3D Animation - Icons für richtige und falsche Montage
3D assembly video - joint filler for acoustic ceilings
There are special tube fillers for special ceiling tiles. Simply cut open, into the cartridge gun and into the joint. There are defined drying times, assembly instructions and grinding specifications to be observed. These are explained in detail in the assembly video. The correction of joints with a subsequent repair is also described. During the 3D animation, tape was animated, which was smeared with the grout and then pulled off the plasterboard.
Implementation of video production - 2021
From the illustrated storyboard to the finished assembly video
At the beginning of the animation creation there is a coordination with the customer. What should be shown? Which assembly steps are important? What should be explained in detail? All of these questions flow into a first rough brief description of the process. An illustrated storyboard is then created on this basis. In this storyboard, all important assembly steps are already shown as they can be seen in the later animation. As a customer, you can see in advance what the later video will look like and, if necessary, incorporate correction requests.

Let create your own professionally 3D assembly video
Do you also have products from the area of ceiling mounting, acoustic ceilings, sound insulation, plasterboard, interior construction or generally interesting technical products? If you want to have your products explained and are looking for a 3D animation agency, then I am your partner and will be happy to help you. Contact me and together we will create a suitable animation video, mounting video or assembly animation for your purpose. Precisely tailored to your products and requirements.
Contact nowFAQ – Frequently Asked Questions About 3D Mounting Videos for Acoustic Design Ceilings
Why are 3D mounting videos useful for acoustic ceiling systems?
Acoustic ceiling systems often involve multiple components, suspension elements and precise installation sequences. A 3D mounting video visualizes every step in a clear and structured way, helping installers understand the complete assembly process before work begins on site.
Can a 3D mounting video show hidden ceiling components and installation details?
Yes. 3D animation can reveal concealed suspension systems, fastening points and internal construction details that are normally hidden behind ceiling panels. This makes it easier to communicate the correct installation method and technical design of the system.
How can a 3D mounting video support architects and project planners?
Architects and planners often need to evaluate how a ceiling system integrates into a building design. A 3D mounting video demonstrates installation requirements, component interactions and construction details, helping stakeholders better understand the product before specification and installation.
Can different ceiling configurations be presented within one assembly video?
Yes. Various room layouts, mounting situations and ceiling designs can be visualized in a single animation. This allows manufacturers to demonstrate multiple installation scenarios without building physical mock-ups for each application.
Why is a CAD-based 3D mounting video beneficial for acoustic ceiling manufacturers?
Because the animation is created directly from CAD data, every component can be displayed accurately and consistently. This enables manufacturers to provide precise installation instructions while simultaneously showcasing the design, engineering and functionality of their acoustic ceiling systems.
Services rendered in creating the assembly video
-

CAD data import
-

CAD model creation
-

Texturing
-

Storyboard creation
-

Animation creation
-

Rendering
-

Text overlays
-

Music integration
-

Post production
-

Provision in various video formats